
Color white objects while preserving the paper
A white cup can have depth with very little added color. Choose the paper to preserve and try a small shadow before filling the shape.
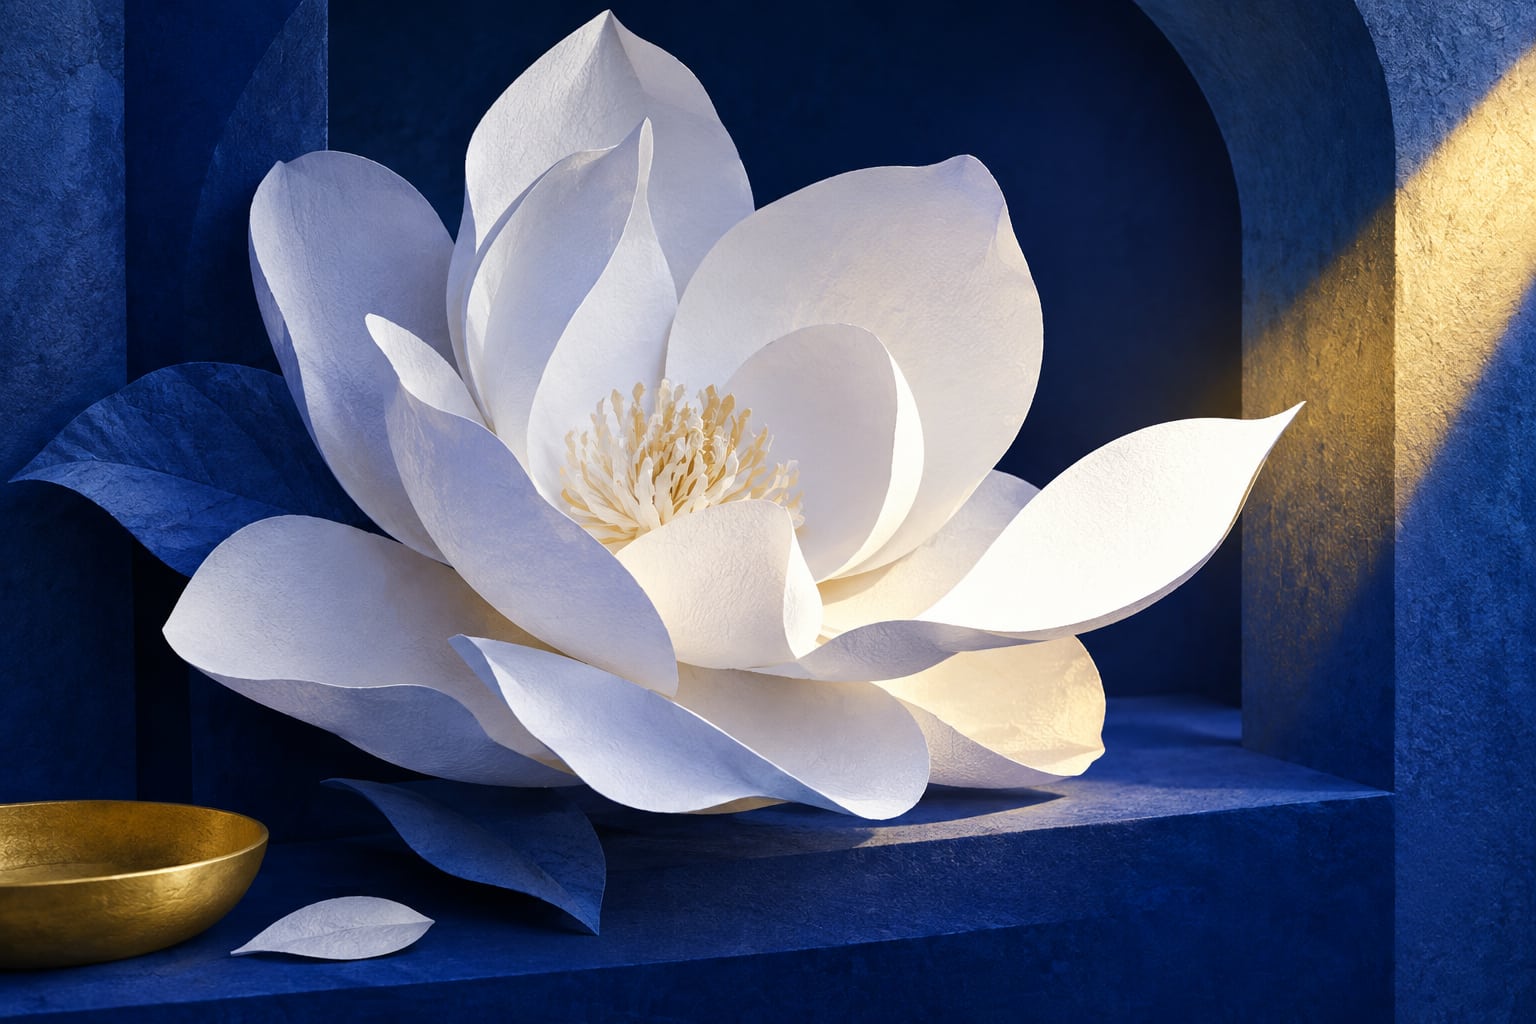
To keep a white object looking white, preserve a generous area of paper and add color only where it helps describe the form. A cup, petal, or illustrated shirt does not need an all-over gray layer. Begin with one small shadow and see how much it can explain on its own.
This exercise is about choosing what stays untouched. Try it on your own simple drawing of a cup before using a coloring page. Work with dry pencils on white paper; if the sheet is another color, your reserved areas will retain that color and produce a different effect.
Separate the object from its shadows
Getty's introduction to the elements of art uses value to describe how light or dark a color is. For this study, choose a pencil you can apply very lightly. A pale gray, muted blue, or beige can be useful options to test; none is a required shade.
Imagine light arriving from the upper left. Keep much of the cup's front untouched. Look for a small area beneath the rim or along the opposite side for the first shadow. Printed lines already describe some of the shape, so you do not need to strengthen every outline.
Try a cup you have drawn yourself
- Plan the reserve: mentally choose a broad strip that will remain white. Avoid drawing a pencil boundary around it.
- Add a short shadow: make gentle strokes along the right side, reducing the color toward the middle.
- Consider the handle: try a small accent where it meets the body, leaving most of its surface alone.
- Settle the base: add a short mark below the cup if it needs a clearer connection to the surface.
- Step back: check whether you still see a white cup. You can stop while large areas remain untouched.
If the cup begins to look gray
Before adding another layer, compare the size of your shadow with the reserved area. Perhaps the middle tone has spread too far. In the next study, make that band narrower and preserve more paper. You do not have to keep correcting the first cup; comparing the two versions can help you choose.
You could also test a small background patch beside just one edge. A local difference in lightness may help separate the silhouette. Keep this experiment limited: the aim here is to study the white object, rather than build a complete background that changes the whole composition.
Common mistakes
- Filling the whole cup before deciding where the light belongs.
- Strengthening every outline equally when the drawing is already clear.
- Giving every petal or fold a shadow of exactly the same size.
- Assuming untouched paper means a forgotten section.
A common question
Do I need a white pencil?
Not for this exercise on white paper. The reserved paper supplies the lightest area. If you own a white pencil, experiment with it separately, but you do not need to buy one to practice this choice.
Find a small object on a page you already own, or explore the Chroma Shu book collection to discover other worlds. Choose just one shape and give yourself time to look at it.
Conceptual source: Getty's elements of art: value. The cup and the procedure are an original exercise from Equipo Chroma Shu.

Be the first person to leave a little trace of color here.